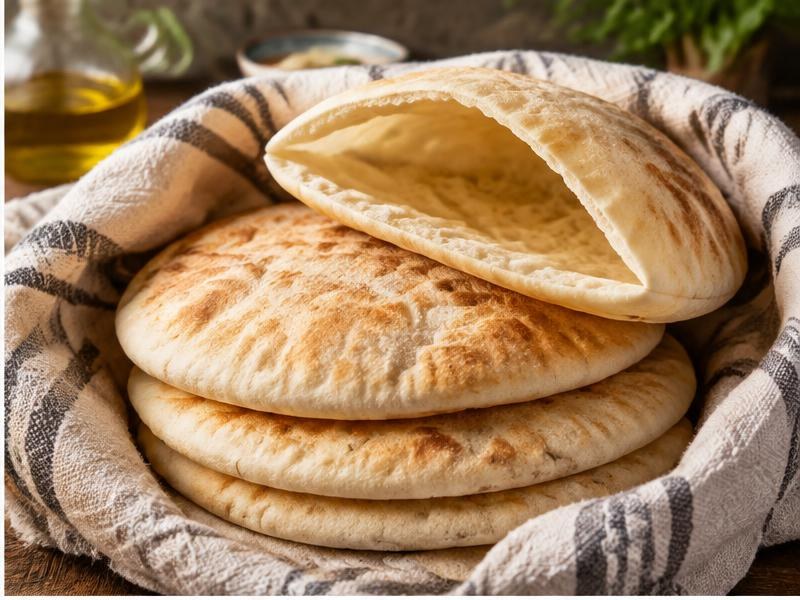
Pita bread—known throughout the Levant and eastern Mediterranean as Khubz (خبز) or Pitta (πίτα)—is one of the oldest and most versatile flatbread traditions in human history. A true artisanal pita is soft, pillowy, aromatic, and characterized by its hollow interior pocket: an expansive, two-walled envelope designed specifically to scoop thick mezze dips or wrap seasoned grilled meats.
Store-bought supermarket pitas are notoriously dry, crumbly, and brittle, often splitting down the seam when opened. Making authentic pita at home is remarkably simple, requiring only flour, water, yeast, salt, and heat. The defining achievement—producing a hollow, ballooning balloon that inflates in the oven like a sphere—is not a culinary trick. It is a direct application of thermodynamics and gas expansion laws.
The Physics of the Hollow Steam Pocket
Understanding why a flat circle of dough splits into two separate, paper-thin walls inside a 250°C (480°F) oven removes all guesswork from the process.
For a flatbread to puff into a hollow sphere, three conditions must align simultaneously:
- Viscoelastic Gluten Elasticity: The dough must contain enough developed gluten to stretch into a continuous, gas-tight membrane without tearing under pressure. A dough that is under-kneaded or made with weak low-protein flour will develop microscopic fissures; expanding gas simply escapes through these leaks, leaving the bread flat and dense.
- Surface Crust Gelatinization: When a rolled dough disk hits an intensely hot baking steel, stone, or cast-iron surface (245–260°C / 475–500°F), heat transfers through conduction into the bottom crust and radiation into the top crust. Within 30 to 45 seconds, surface starches gelatinize and proteins coagulate, forming two distinct, flexible outer skins.
- Explosive Phase-Change Vaporization: Water expands by approximately 1,600 times its volume when transforming from liquid water to steam vapor. In an ultra-hot oven, moisture trapped inside the raw core of the dough boils rapidly. Because the top and bottom outer skins have already set into elastic, sealed barriers, expanding water vapor cannot escape. The pressurized steam seeks the path of least resistance: it drives wedge-like through the soft, unbaked center of the dough disk, cleaving it cleanly in half and inflating the bread into a hollow balloon.
If your oven is too cool (under 220°C / 425°F), moisture evaporates gradually through the porous dough rather than flashing into pressurized steam. The result is a flat, dry disk with no pocket.
The Formula and Baker's Percentages
This formula uses baker's percentages calculated against total flour weight. A hydration level of 68–70% provides the ideal balance: wet enough to generate abundant steam, yet firm enough to handle and roll without excessive sticking.
Yield: 8 medium pita rounds (approx. 16–18 cm diameter).
| Ingredient | Metric Weight | Baker's % | Role in Dough |
|---|---|---|---|
| Bread Flour or Strong AP Flour | 400 g | 100% | High protein (11.5–12.5%) for structural gluten elasticity |
| Warm Water (38–40°C / 100–105°F) | 275 g | 68.75% | Steam generation medium and enzymatic yeast hydration |
| Instant Dry Yeast | 5 g | 1.25% | Rapid fermentation and micro-bubble carbon dioxide matrix |
| Fine Sea Salt | 8 g | 2.0% | Tightens gluten matrix and balances savory wheat flavor |
| Granulated Sugar or Honey | 6 g | 1.5% | Fuel for initial yeast bloom and Maillard crust browning |
| Extra-Virgin Olive Oil | 15 g | 3.75% | Softens crumb, improves extensibility, and retains moisture |
Step-by-Step Culinary Protocol
Step 1: Mix and Hydrate
Whisk the 400 g flour and 8 g salt together in a large mixing bowl. In a separate measuring jug, combine the 275 g warm water, 5 g yeast, 6 g sugar, and 15 g olive oil. Stir briefly to dissolve the sugar.
Pour the liquid mixture into the flour. Stir with a wooden spoon or Danish dough whisk until no dry flour patches remain and a shaggy, damp mass forms. Cover the bowl with a kitchen towel and let it sit for 10 minutes (an autolyse rest that allows flour proteins to absorb water passively, significantly reducing required kneading time).
Step 2: Knead to Windowpane Stage
Turn the dough onto an un-floured or very lightly oiled work surface. Knead steadily by hand for 7 to 9 minutes (or 5 minutes on medium-low speed in a stand mixer fitted with the dough hook).
The dough will transition from sticky and ragged to supple, smooth, and satin-like. It should feel soft and tacky to the touch, but not stick to clean hands. Perform a quick test: stretch a small piece of dough between your fingers. It should stretch thin without immediately tearing, demonstrating active gluten development.
Step 3: Primary Bulk Fermentation
Shape the dough into a smooth ball. Lightly grease your mixing bowl with a drop of olive oil, place the dough inside, and turn once to coat.
Cover the bowl tightly with plastic wrap or a damp towel. Place in a warm, draft-free spot (24–27°C / 75–80°F) for 60 to 75 minutes, or until the dough has doubled in volume and springs back slowly when gently poked with a floured fingertip.
Step 4: Portion and Shape Dough Balls
Gently deflate the fermented dough onto a lightly floured surface. Weigh the total mass and divide into 8 equal portions (roughly 85–88 g each).
Cup your hand over each portion and roll it in circular motions against the un-floured countertop to create surface tension, forming smooth, tight dough balls with sealed bottoms.
Arrange the balls on a lightly floured tray or sheet pan, spaced 5 cm apart. Dust their tops lightly with flour and cover loosely with plastic wrap. Rest for 15 to 20 minutes. This intermediate bench rest relaxes the gluten; attempting to roll the balls immediately will cause them to contract and pull back.
Step 5: Equipment Preheating
While the balls rest, prepare your cooking setup. Maximum thermal transfer is paramount.
- Oven Method (Preferred): Position a heavy baking steel or pizza stone on the second-highest rack of your oven. Preheat the oven to 250°C (480°F–500°F) for at least 45 to 60 minutes before baking. The stone or steel must saturate with deep radiant heat.
- Stovetop Cast-Iron Method: Heat a dry, heavy 26–30 cm cast-iron skillet over medium-high heat for 10 minutes until an infrared thermometer registers 230–250°C (450–480°F).
Step 6: Rolling the Rounds
Work with one dough ball at a time, keeping the others covered.
Lightly dust your work surface and rolling pin with flour. Flatten a dough ball gently with your palm, then roll outward from the center, rotating the dough 90 degrees after each stroke to ensure a uniform circle.
Roll the dough to approximately 16–18 cm (6.5–7 inches) in diameter and 4 to 5 mm (about 3/16 inch) in thickness.
- Crucial rolling rule: Keep thickness completely uniform. Do not pinch or gouge the edges with your fingertips, and do not roll the center thinner than the perimeter. Creases or thin punctures create weak spots where steam escapes, preventing the pocket from inflating.
Transfer the rolled rounds to a lightly floured towel or parchment paper, cover loosely, and let them rest for 5 to 8 minutes before baking. This brief rest allows the yeast to generate a fresh micro-layer of gas bubbles immediately before hitting the heat.
Step 7: The Thermal Bake & Balloon Puff
Oven Baking Steel Protocol:
- Using a floured wooden pizza peel or the back of a flat baking sheet, slide 2 to 3 rolled pitas directly onto the scorching baking steel/stone.
- Close the oven door immediately.
- Watch through the window: for the first 60 to 90 seconds, small blisters will rise across the surface. Between 2 and 3 minutes, the entire pita will violently inflate into a hollow, domed balloon.
- Allow it to bake for another 60 to 90 seconds after full inflation until pale golden with light browned leopard spots across the top. Total bake time is roughly 3 to 4 minutes.
- Remove with metal tongs or a peel and transfer immediately to a large kitchen towel.
Stovetop Cast-Iron Skillet Protocol:
- Lay one rolled round into the hot, dry skillet.
- Cook for 25 to 30 seconds until small bubbles form on top. Flip with a spatula.
- Cook the second side for 60 to 90 seconds until toasted spots appear. Flip again.
- Within 30 to 45 seconds of the second flip, the pita should inflate into a full balloon. Press down very gently on the edges with a folded towel or spatula to encourage trapped steam to migrate through the remaining seam.
- Remove once puffed and lightly browned.
Step 8: The Softening Steam Wrap
As soon as each pita comes off the heat, wrap it directly inside a clean, dry cotton kitchen towel inside a lidded basket or container.
The intense internal steam will gently soften the crisp exterior crust as it cools, collapsing the balloon into a soft, flexible, pillowy flatbread that retains its clean, separation-ready interior pocket.
Troubleshooting Common Failures
The pita stayed completely flat with no pocket.
Causes: Baking surface was too cold (under 230°C / 450°F), dough was rolled too thick (over 7 mm) or too thin (under 2 mm), or the surface was punctured during handling.
Correction: Preheat your baking steel or stone for a full 45–60 minutes at maximum oven temperature (250°C). Roll to an even 4–5 mm thickness and handle rounds gently using a peel.
The pita puffed on one side, but the other side remained fused.
Causes: Uneven rolling pressure left one side thin and the opposite side thick.
Correction: Maintain consistent rolling pin pressure and rotate the round frequently while rolling.
The pita puffed, but the bread is tough and brittle like a cracker.
Causes: Baked too long in a moderate oven, drying out the moisture, or exposed to open air while cooling.
Correction: Bake hot and fast (under 4 minutes total). Wrap hot pitas in a clean towel immediately upon removing from the oven to trap steam and soften the crumb.
The bread tore open when trying to stuff it.
Causes: Weak gluten development from under-kneading, or dough was dried out during rolling.
Correction: Knead until the dough passes the windowpane test, and keep dough balls covered under plastic at all times.
Storage and Freezing Protocol
- Room Temperature: Store cooled pitas in a sealed plastic bag at room temperature for up to 3 days. Reheat on a hot dry skillet for 15–20 seconds per side to restore pillowy elasticity.
- Freezing: Fresh pita bread freezes exceptionally well. Wrap cooled pitas in foil, place inside a freezer-safe zip bag, and freeze for up to 3 months. Thaw at room temperature for 15 minutes, or toast directly from frozen in a warm oven or toaster.
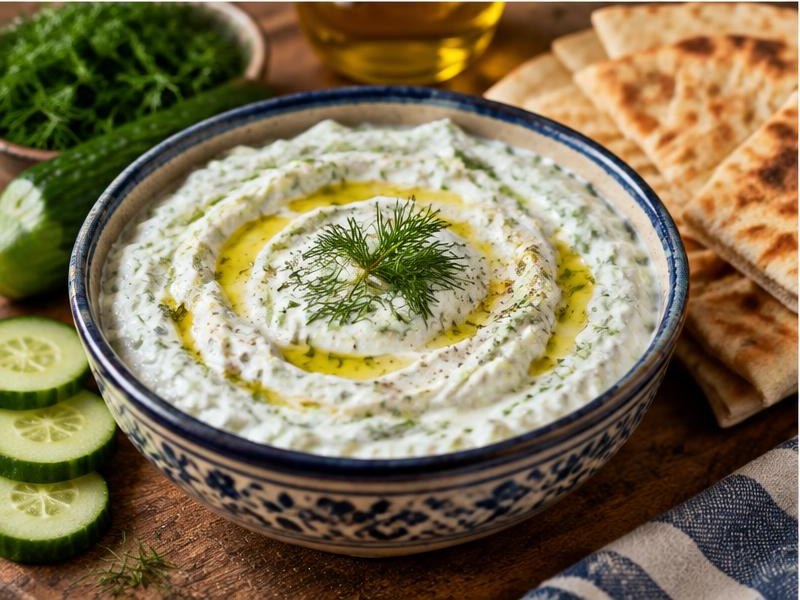
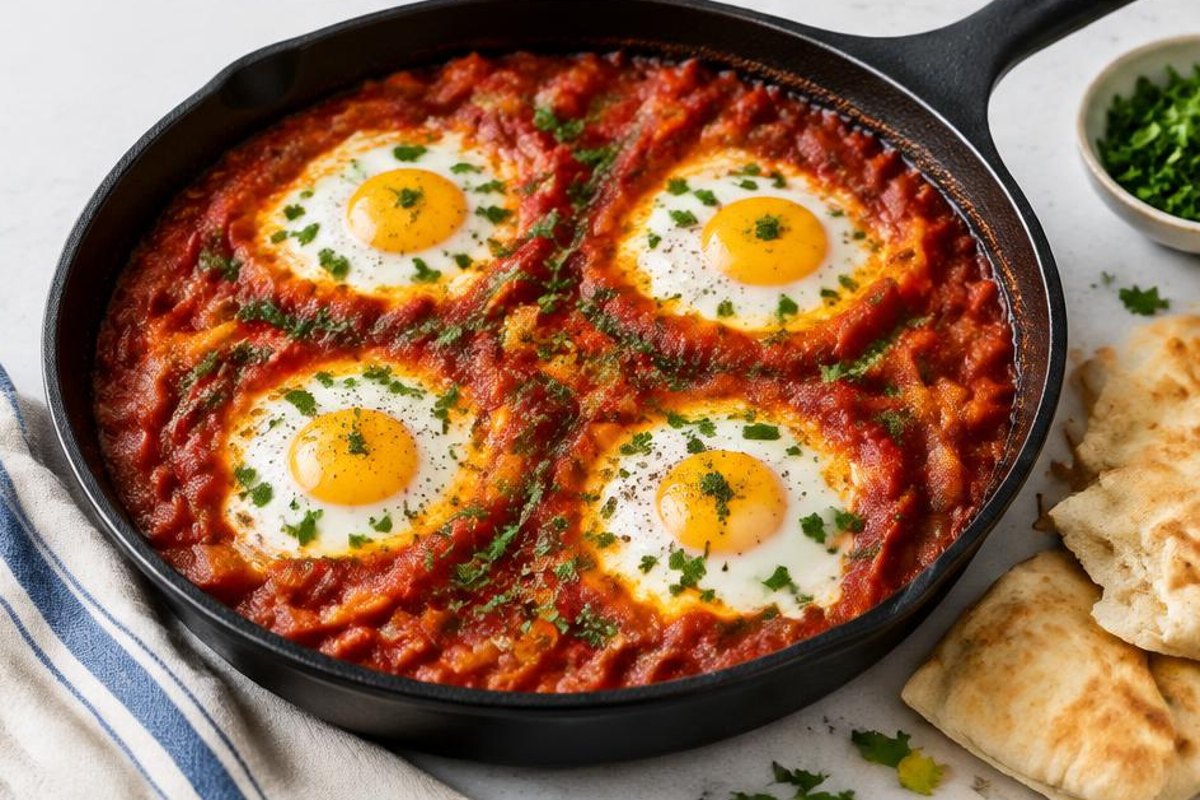
How to Pair Pita Bread on Faithful Food Online
Freshly baked pita is the foundational vessel for our eastern Mediterranean and Levantine recipes. Use warm rounds to scoop our ultra-smooth Lebanese hummus masterclass, dip them into creamy authentic Greek tzatziki, or drag them through charred smoky eggplant mutabal. For main dishes, split a warm round open and stuff it with crispy Levantine falafel and pickled turnips, or wrap it around grilled Greek pork souvlaki skewers.